Step-by-Step Installation Guide
Create a Refix Account
- Visit app.refix.ai and sign up for an account.
- Once logged in, you’ll be prompted to add a domain.
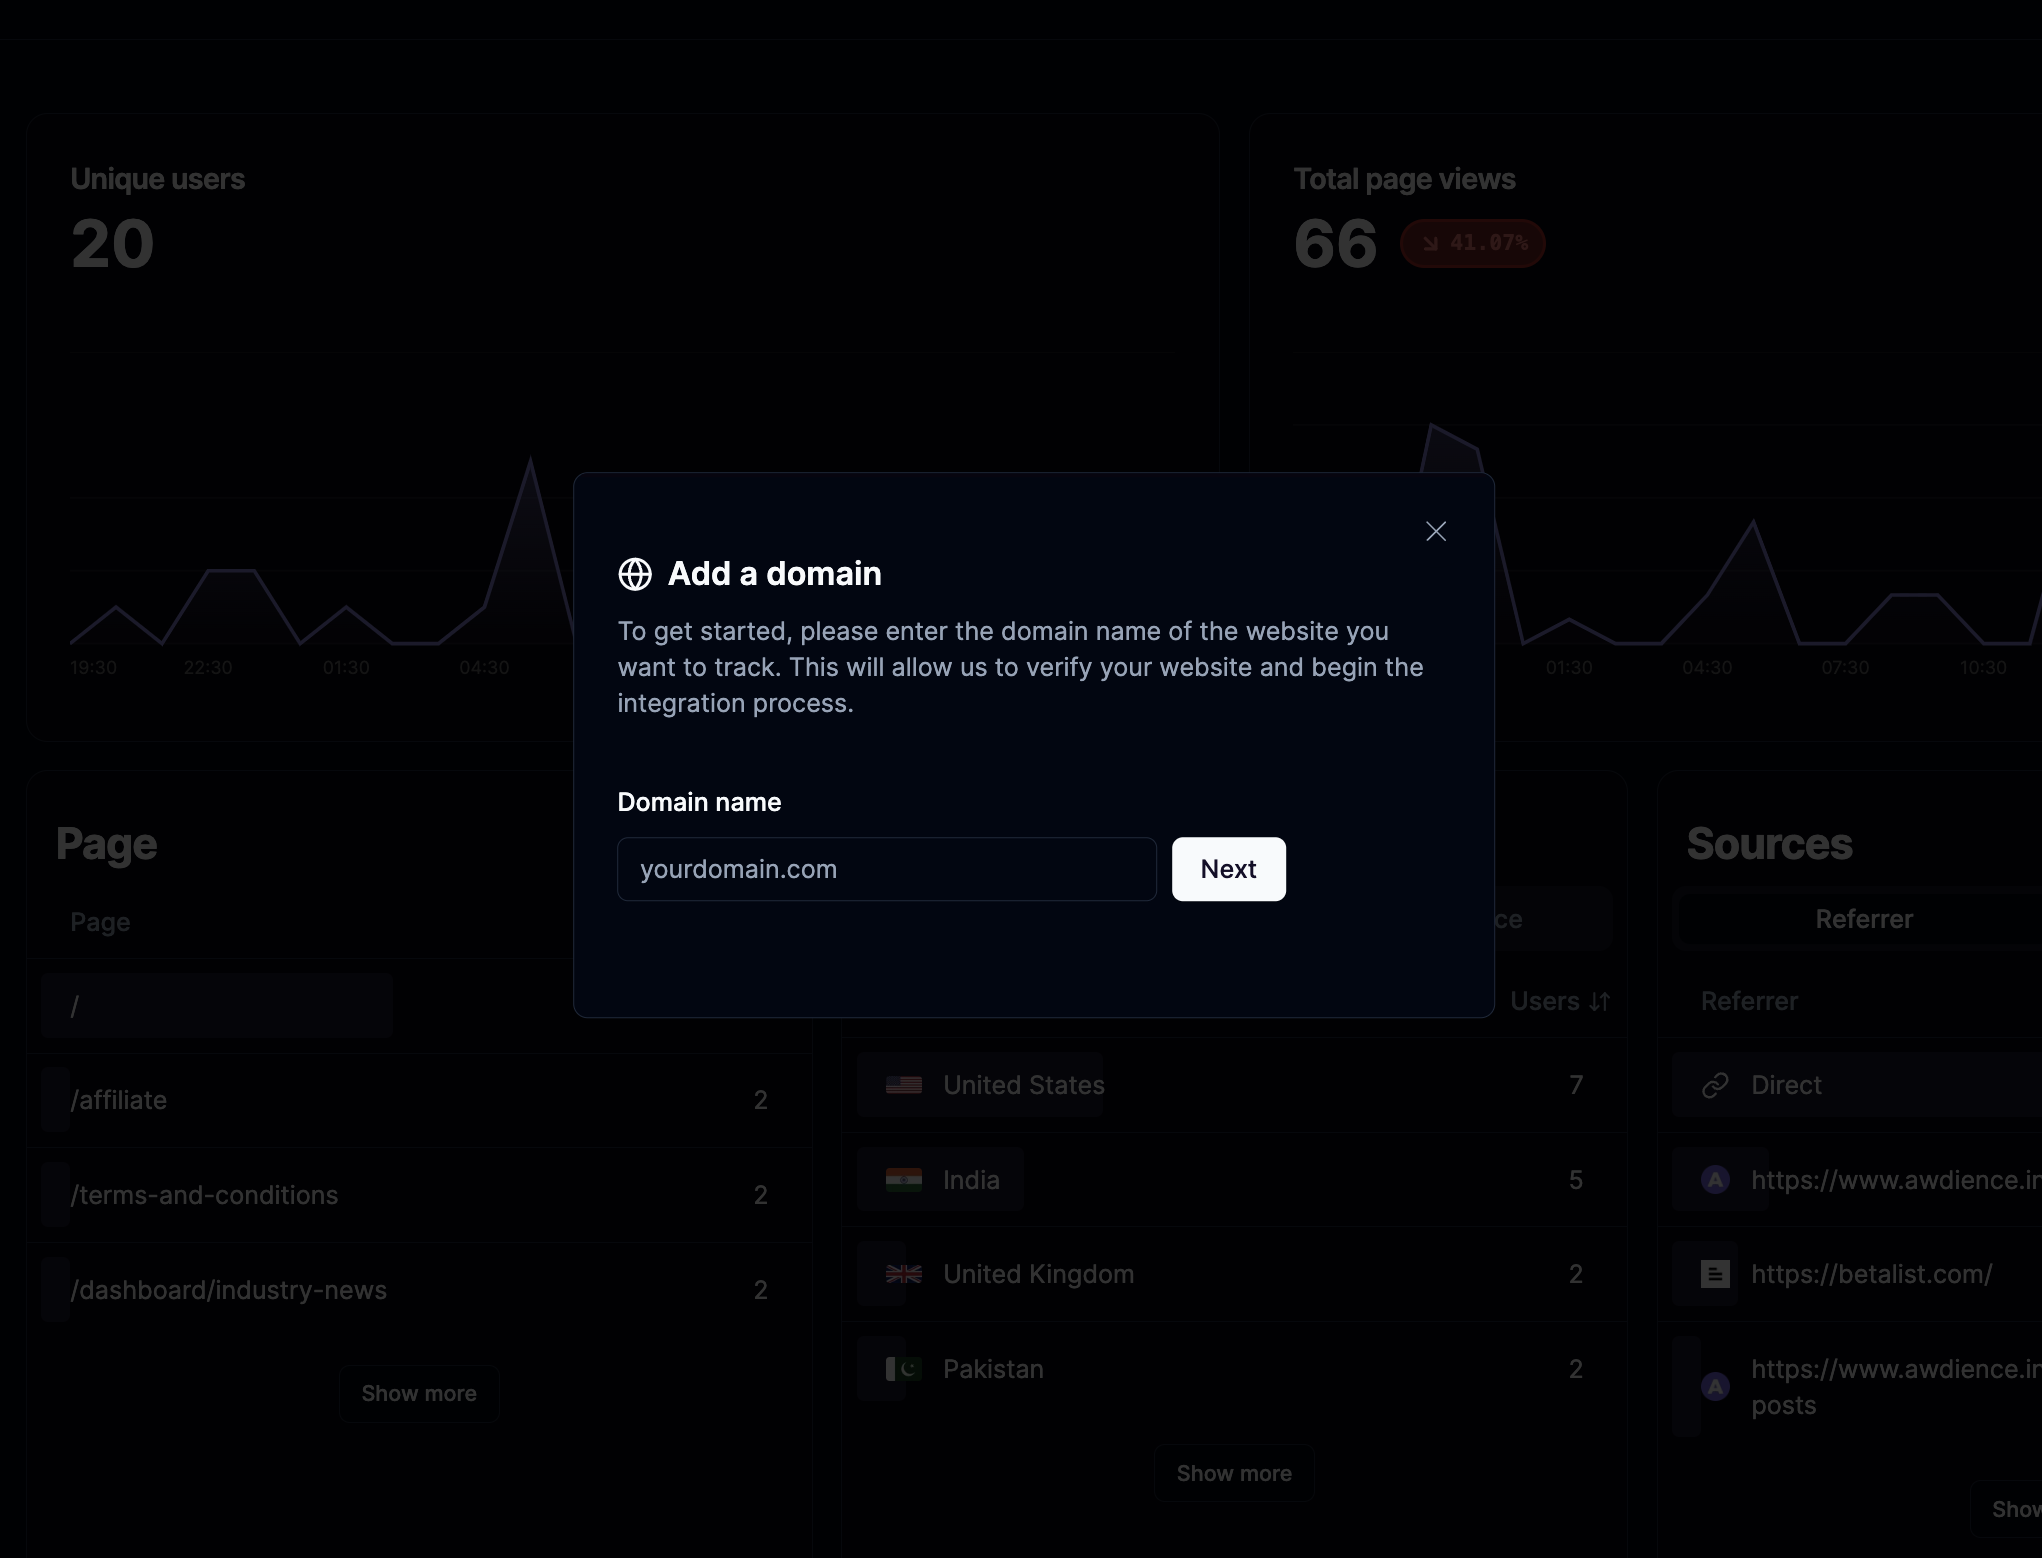
Add Your Framer Domain
- In the Refix dashboard, enter your Framer website’s domain without the protocol.
- For example:
yourframersite.com
- For example:
- Click “Add Domain” to proceed.
Copy the Refix JavaScript Snippet
After adding your domain, Refix will generate a unique JavaScript snippet for your website.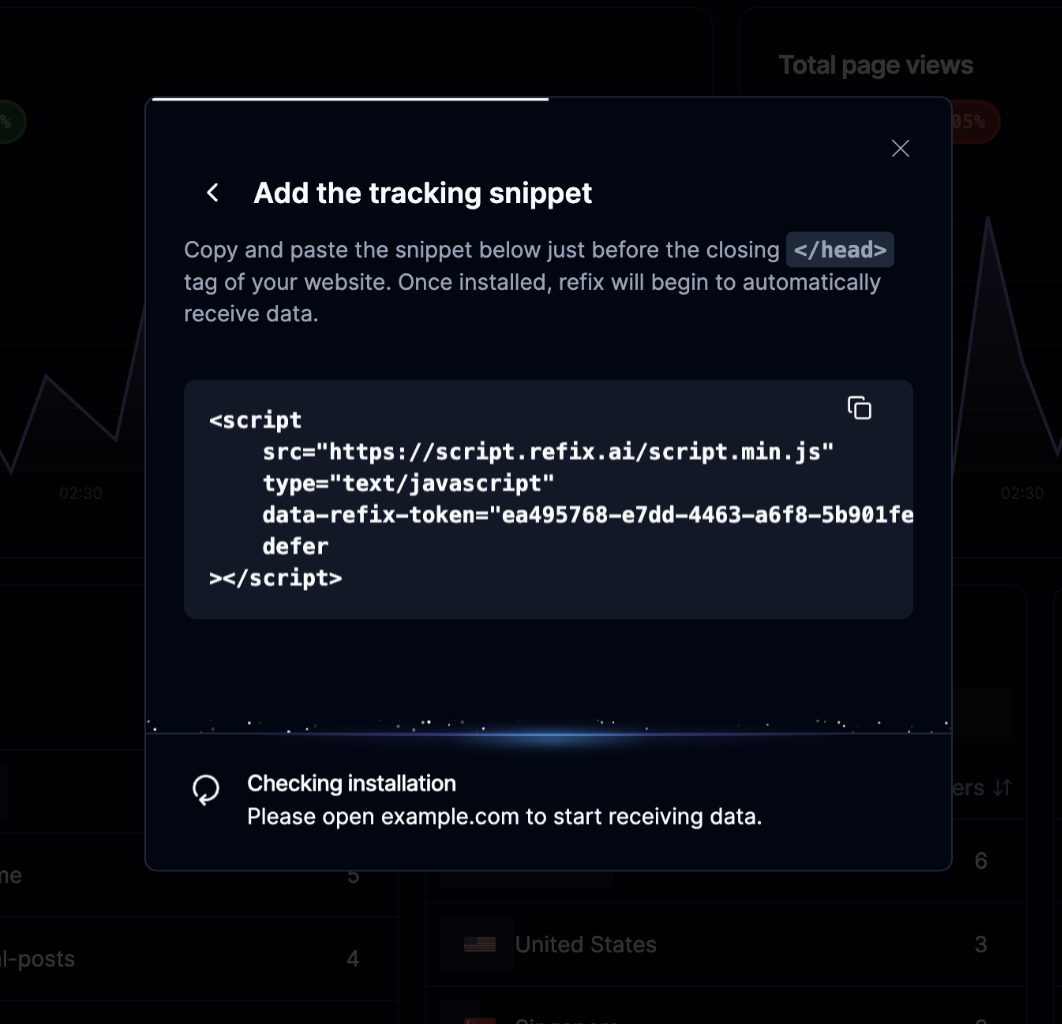
- Locate the provided code snippet in your Refix dashboard.
- Copy the entire snippet to your clipboard.
Add the Snippet to Your Framer Project
- Open your Framer project in the Framer editor.
- Navigate to the “Settings” panel (usually represented by a gear icon).
- Look for the “Custom Code” or “Custom HTML” section.
- Paste the Refix snippet into the
<head>section of your custom code.- If there’s no specific
<head>section, simply paste the snippet at the beginning of the custom code area.
- If there’s no specific
Remember, adding custom code is a feature available only in Framer’s paid plans. If you don’t see the custom code option, check your subscription status.
Publish Your Framer Site
- Save your changes in the Framer editor.
- Publish your Framer site to make the changes live.